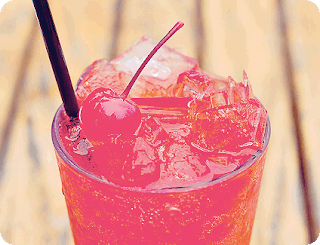
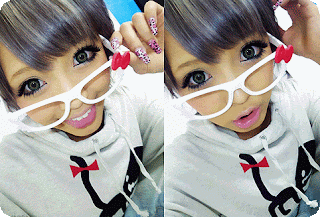
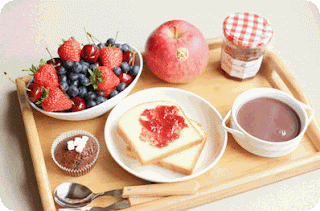
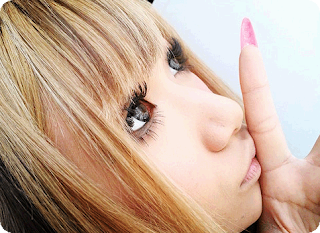
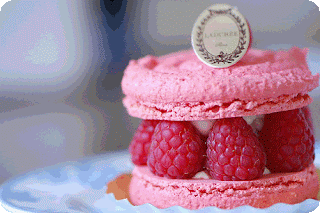
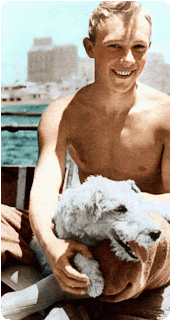
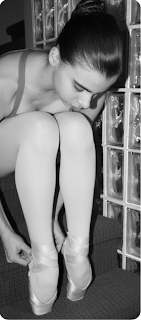
Hello!How are you doing? Today I´m going to post a series of my favorite inspirational pics *-*
Most of them from Tumblr <3
Be Inspired



TUTORIAL: Como fazer bordas arredondadas pelo photoshop/ How to do Rounded Borders on photoshop
1- Escolha uma imagem qualquer/ Choose a random picture

2- Vá para a janela de CAMADAS e clique 2 vezes para criar uma nova camada/ Go to the LAYERS´ Window and click 2 times over to create a new layer.
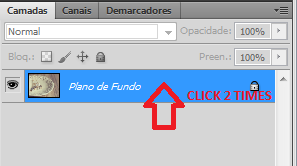
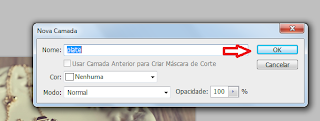
3- Na caixa de Nova Camada, renomeie e aperte o OK/ At the New Layer dialogue box, rename the layer and press OK.
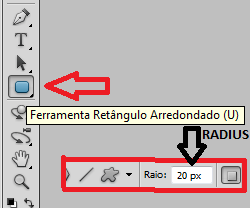
4- Selecione a ferramenta Retângulo Arredondado e deixe o raio de 20 px/ Select the Rounded Rectangle tool and turn the radius to 20 px
5- Clique e arraste o retangulo por cima da imagem no tamanho desejado. Você vai perceber que após criar o retângulo, uma camada nova vai ser criada/ Click and drag the Rectangle over your image,choosing the size you want. You´re going to see that a new layer will be created

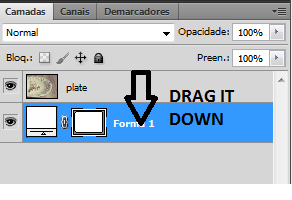
6- Arraste essa nova camada para baixo da camada de sua imagem/ Drag that new layer below your image layer.
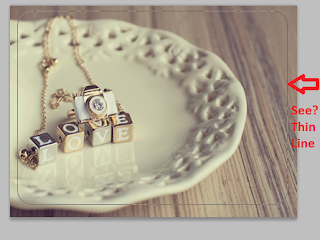
É assim que a imagem deve aparecer depois disso. Uma linha fina deve aparecer ao redor./ That´s How it is supposed to look after that. A Thin line will appear
7- Selecione a camada da IMAGEM, clique na pequena seta do canto direito,acima da tela/ Select the IMAGE layer and click on the little arrow at the top right corner.
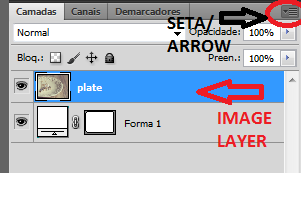
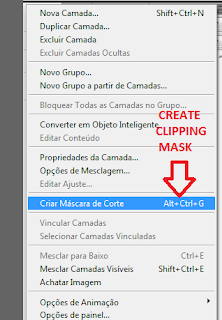
8- Selecione Criar máscara de corte/ Select Create Clipping Mask
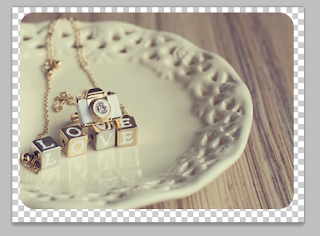
A imagem deverá estar assim depois do comando/ The image must look just like this after the command.
9- Para finalizar,vá para a barra de MENU, selecione IMAGEM>APARAR./ To finish, go the the MENU bar, select IMAGE>TRIM.
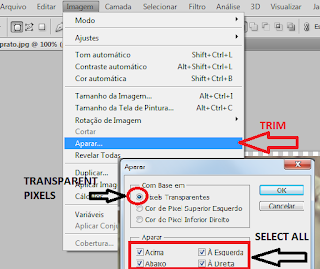
Voilá
Não se esqueça de salvar em GIF ou PNG/ Don´t forget to save it as GIF or PNG

Por hoje é só! Espero que tenham gostado *-*
Kiss Kiss
That´s all folks! Hope you guys liked it *-*
Kiss Kiss




12 comments:
Fotos cutes !
O tumblr tem mesmo umas fotos bem legais :D
Amei as fotos e amei mais ainda o tutorial para arredondar as bordas!! Eu sempre quis saber como fazia isso!! *-*
Respondendo comentário: hoje eu descobri que não foi plágio. A sm town vendeu essa música para as duas. Então foi tudo só um erro meu... Que vergonha de não ter pesquisado mais!
*-*
que fofos.
Eu também A.M.O o tumblr, me dedico mais a ele do que o blog, acho que porque é mais versátil...
Feliz finzinho de Páscoa, mas que seus chocolates durem um pouquinho mais na geladeira para a semana auhsuahsuash
Bj grande!
@evelyncmo
/cupcakerock.blogspot.com
Essa primeira foto deu uma seeeeeeeeeeede!hahah
amei as fotoss..muito lindas!Feliz Pascoa atrasada hahahah beeijao
I've always wondered how to do it! so that was helpful! Thanks~~
Inspirações lindas! *---*
O fato é que quero muito esse óculos da hello kitty! HASHSAHSAH
Hee hee I love Tumblr too! ♥ And great tutorial! Thanks for sharing, hun :D
~ Kieli ~
I adore!!! Nice photos!!!!!!!!!!
Lysa
http://www.leblogdelysa.com
great post!!!!
let's follow each other?
http://fashionshores.blogspot.com
I LOVE YOUUR POSt AND YOU *O*
I follow you swettie <3
Thanks! This was really really useful! I recently stumbled across your blog and I LOVE it! I love the layout to the content and everything in between! I am your newest, most avid follower, I look forward to reading your future posts. I would love it if you could perhaps follow me back too?
Love from, THE EASTERN PEARL
Postar um comentário
Nome:
Webpage:
Comment: